There are a number of off the shelf options available from the likes of farmmodels.nl but the best and cheapest way to get a ram the perfect size is using car aerials. These are available on ebay for as little as 99p. The issue comes with the fact that generally they are too long, or have too many sections to be used straight on a model. Therefore they need cutting down. this guide demonstrates how to do that.

Starting with the aerial out of the packet the top nib and the bottom hinge need removing

To remove the hinge I use a set of modelling pipe cutters, a craft knife will do the same job but will blunt very quickly.
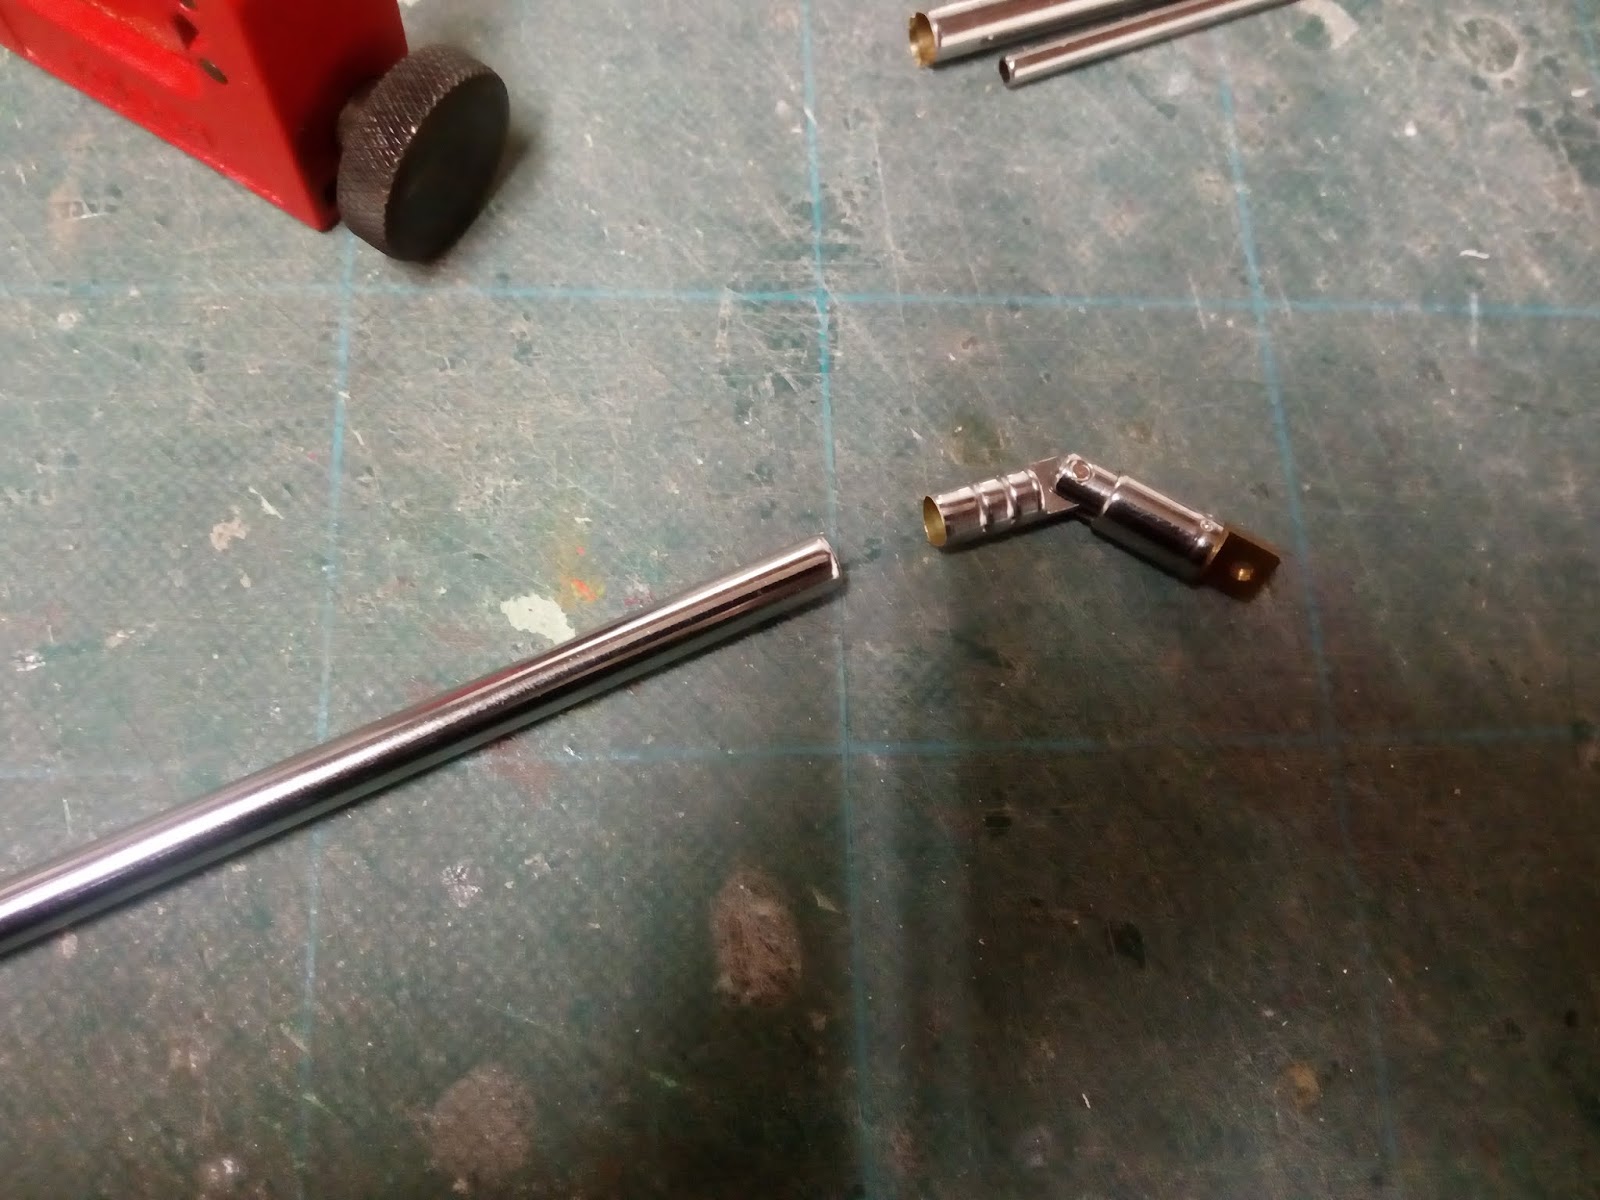
Hinge removed

The nip is simply cut off with a set of tinsnips

Pushing down on the top of the aerial the whole unit will slide out of the outer tube, along with two copper shims.

Keep these shims safe as they will be needed later.

Repeat the process till you have removed each section of rod from the aerial. At this stage you can get rid of any sections you don't need. In this case I am making a five stage ram so only the very smallest rod wasn't needed. In the case of a silage trailer you may want two rods from the middle depending on the desired diameter.

I find using a craft knife for the next bit is more accurate than the pipe cutters and also doesn't crush the tube as much making replacing the copper shims easier. The length of the ram is decided and each part cut to size, the first and last sections are cut longer than the others to allow room for eyelets to pivot from. The knife is used to roll the tube along deeply scoring the metal, the tube is then snapped off at the correct length. Measure the length from the curled end of the tube and NOT the end with a hole drilled in.

Some deformation of the tube will occur, a diamond file is used to re-round the tube so it will slide over each section better.

Using a punch a hole is marked out ready for drilling the hole the copper shim sits in.

The hole is drilled out, matching the diameter of the original hole. Here I have made a simple jig to hold the tube while drilling compromised of one large piece of mount board, with a smaller piece glued on top that the tube pushes against. The tube may need tidying with the file again at this stage to make sure it is round and unobstructed.

This process is repeated for every section of tube.

The copper shims can be put back as they came out but this will severely limit the length of travel achieved by the ram. Therefore I cut the shims down so they are the same length either side of the indent. This is done with tinsnips, then a pair of pliers are used to re-round the shims.

The shims are placed back with the indent sitting in the hole. And now the tricky bit.

Starting with the smallest two tubes the smaller tube must be pushed back into the larger one, and the copper shims pushed in with them, this is why it was important to file the tubes back to round. If you are having trouble getting the shims in try flaring the edges of the tube out with the file or a punch.

Repeat for each section of ram, going up in size each time.

To make the top eye I have squished the tube with pliers.

The drilled a hole in the flattened tube.

I drilled the bottom eye along with all the shim holes so that leaves the finished ram ready to fit in the trailer.
No comments:
Post a Comment