This guide is to make some 1/32 scale trees. These want to be nice and big, something which isn't available, or is incredibly costly off the shelf. The main tree in this guide is approximately a foot high, and a foot in diameter and cost well under ten pounds to make. There are plenty of guides on youtube for wire trees and this method is heavily derived from the terrain tutors excellent guide here.
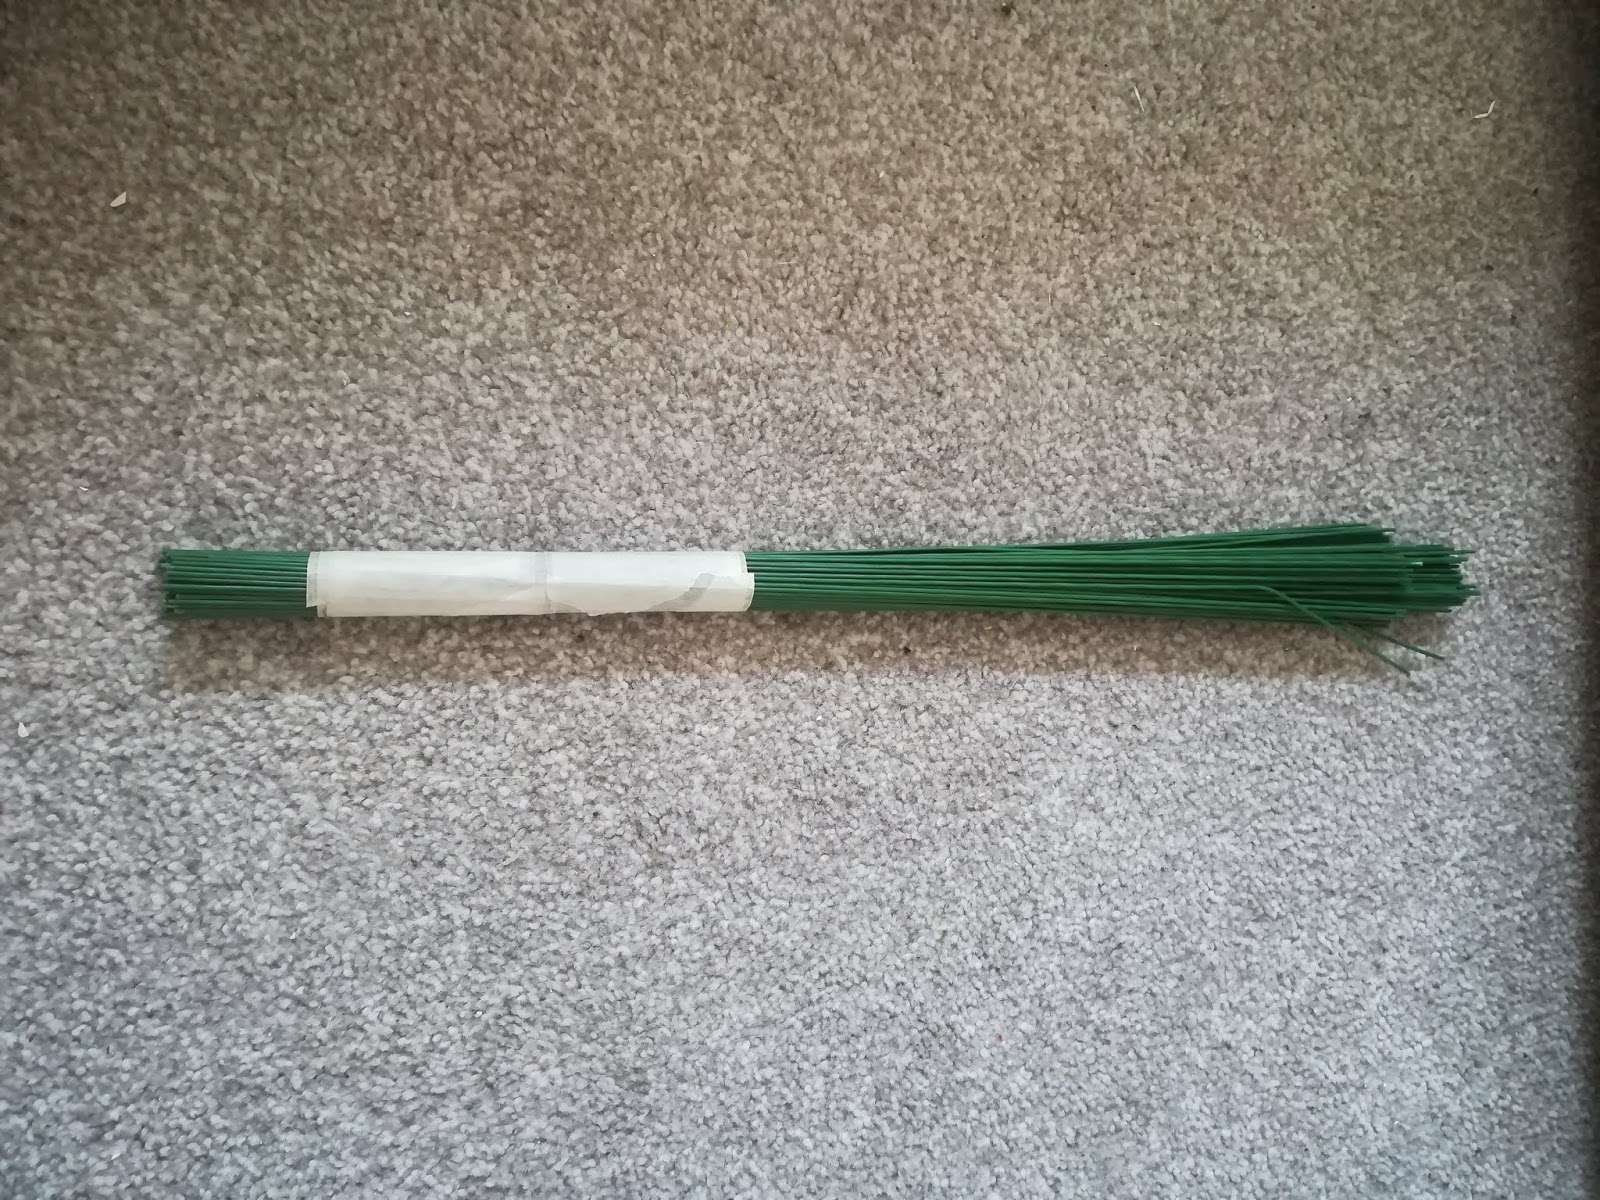
Starting with a bundle of 14" 0.6mm florist wire
Some masking tape wrapped around where the trunk will be.
Strands of wire split away and twisted together to make up the trunk. Some of the interior strands have been pushed up inside to allow a peg to be put in the centre later, this will locate in a hole on the baseboard and hold the tree secure.
Longer bunches are pulled away for the branches, rather than twist them all together one wire from each bunch is pulled out and wrapped around the bunch securing them together.
The end of the bunches are pulled apart and bent about to make the fine branches.
These are then trimmed away to make the overall appearance more rounded and natural.
For the trunk and larger branches a layer of DAS clay has been applied to the wire and then scribed to represent bark.
Next the tree received a spray of brown paint
The next step is to build up a base for the foliage, this is done using coco fibre. I have no real exact science to attatching it. The method I've done is spray the wire with a spray adhesive then spread and pull the fibre over the branches, looping and hooking it over the wire.
Repeating until the whole canopy is covered.
The using the cheapest nastiest looking hair spray you can find (The cheaper the less formulated it is to 'wash out of your hair' so the less likely it'll loose grip) and apply a liberal dose to the fibre. Then like with the wire trim the shape so it looks natural.
(Different tree, but still the same method) Next up is another coat of brown spray paint so the fibre matches the colour of the trunk.
Now is time to add the leaves, for how to make them see here.
To start a generous layer of spray adhesive is coated onto the canopy.
Then its a case of simply grabbing handfuls of foliage and pushing it onto the canopy, give it a shake and repeat till all the areas you want are covered.
Finally give the foliage a heavy spray or two of hairspray, here I added a little bit of coloured sawdust, greens and reds to add some texture and berries to the tree.
The tree is now ready to set in the landscape, for the best results the tree wants blending into the landscape, using filler or plaster to cover some of the roots, and leave others showing. The layout I'm making is designed to be easily transported so I wanted to make the trees removable to pack separately. Therefore a small hole is drilled in the baseboard and the peg mentioned earlier is used to locate the tree in the board. To achieve a level of blending I layed some DAS around the hole that the tree sits in, pushed the roots into the DAS then removed it so that it left an indent. This is then left to dry, painted and grassed.